The Circuit Board
All sources for the custom Printed Circuit Board are available online for free. You can find the need Gerber files on GitHub, created by di0ib. You only need to submit them to a company to print them for you. Of course, you can do this in your own home as well, but prices are that low for custom PCBs, it’s a no-brainer just to order them.
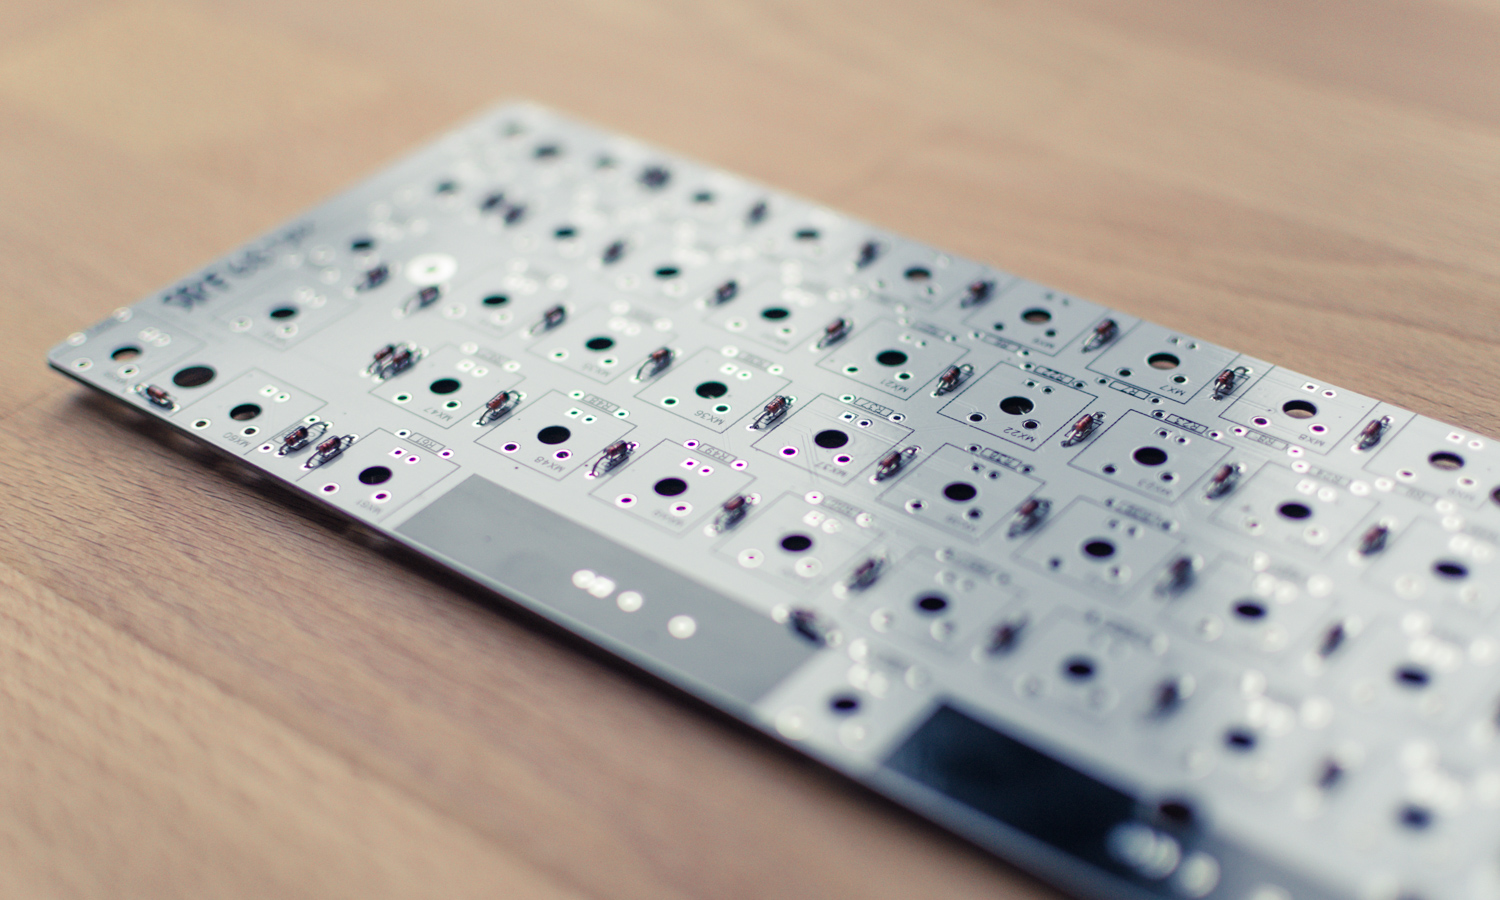
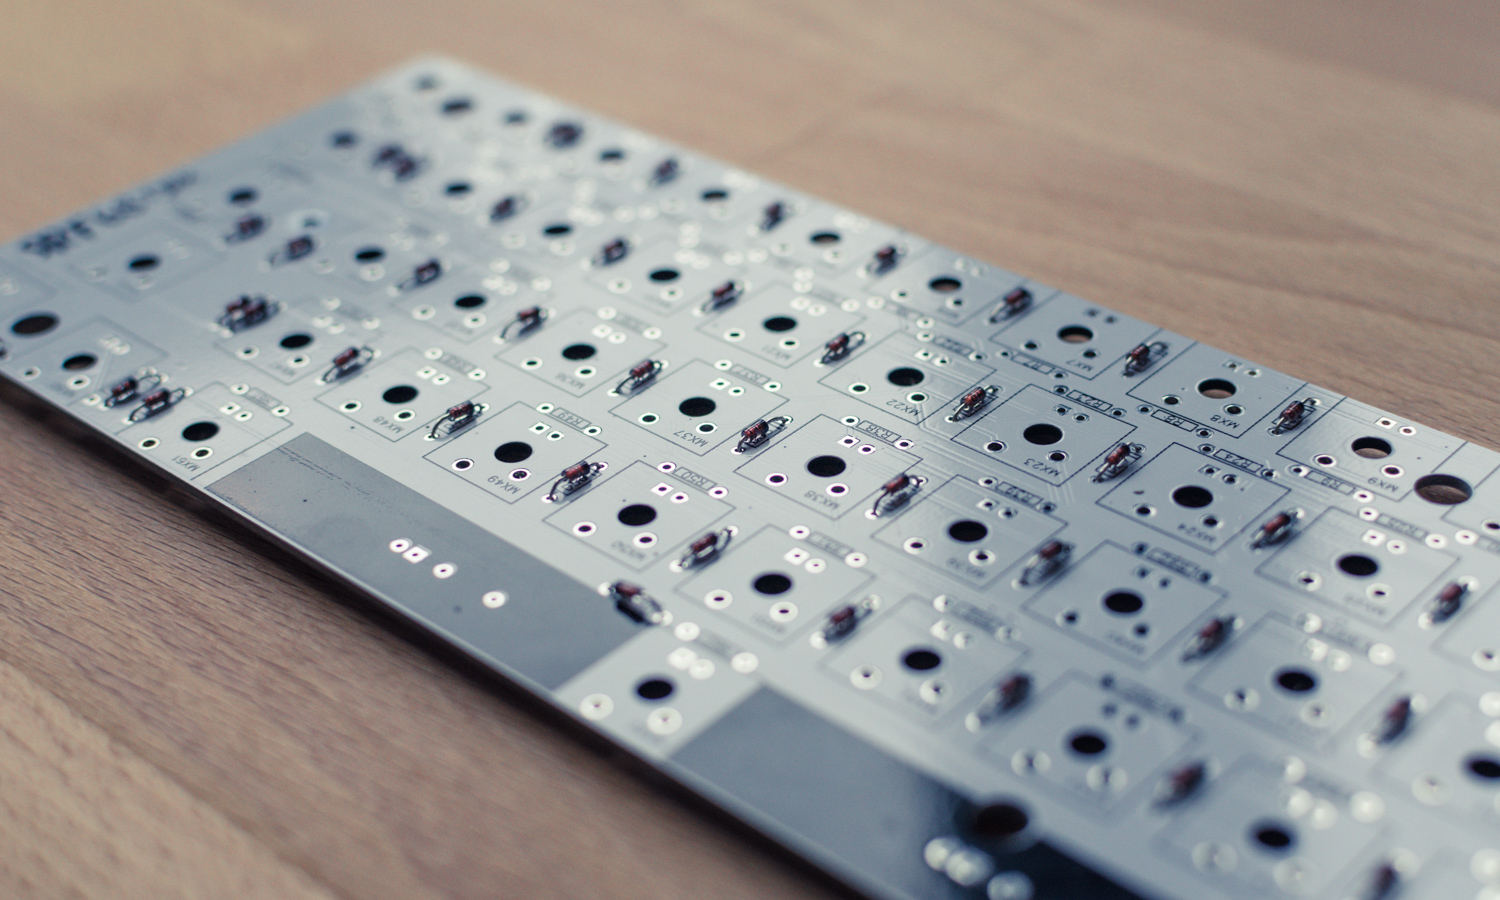
The circuit board has no microcontroller on it; it’s just the wiring for your keyboard. But you can perfectly solder an Arduino Pro Micro to the board! Additionally, you will need one regular Push Button to control the Arduino, and one 1N4148 Diode for every Cherry MX Switch on the board:
Ordering the printed circuit board usually takes the longest time. Luckily, most companies offer express delivery if you do not want to wait for standard shipping.
PCB from EasyEDA.com
For this keyboard, I ordered the circuit boards from EasyEDA. They have reasonable prices and offer to ship with DHL Express; it only took three days from the pickup in Asia to delivery in Germany.
You need the mentioned archive file that contains all Gerber files; you can download them from GitHub or use the following button.
The PCB Gerber files are made by di0ib and shared using the BY-SA Creative Commons license.
With the file downloaded to your computer, head over to EasyEDA. You will need to create a user account first, but that’s the most complicated part for ordering your PCBs. After you created your account, select Order PCB from the menu and upload the archived files.
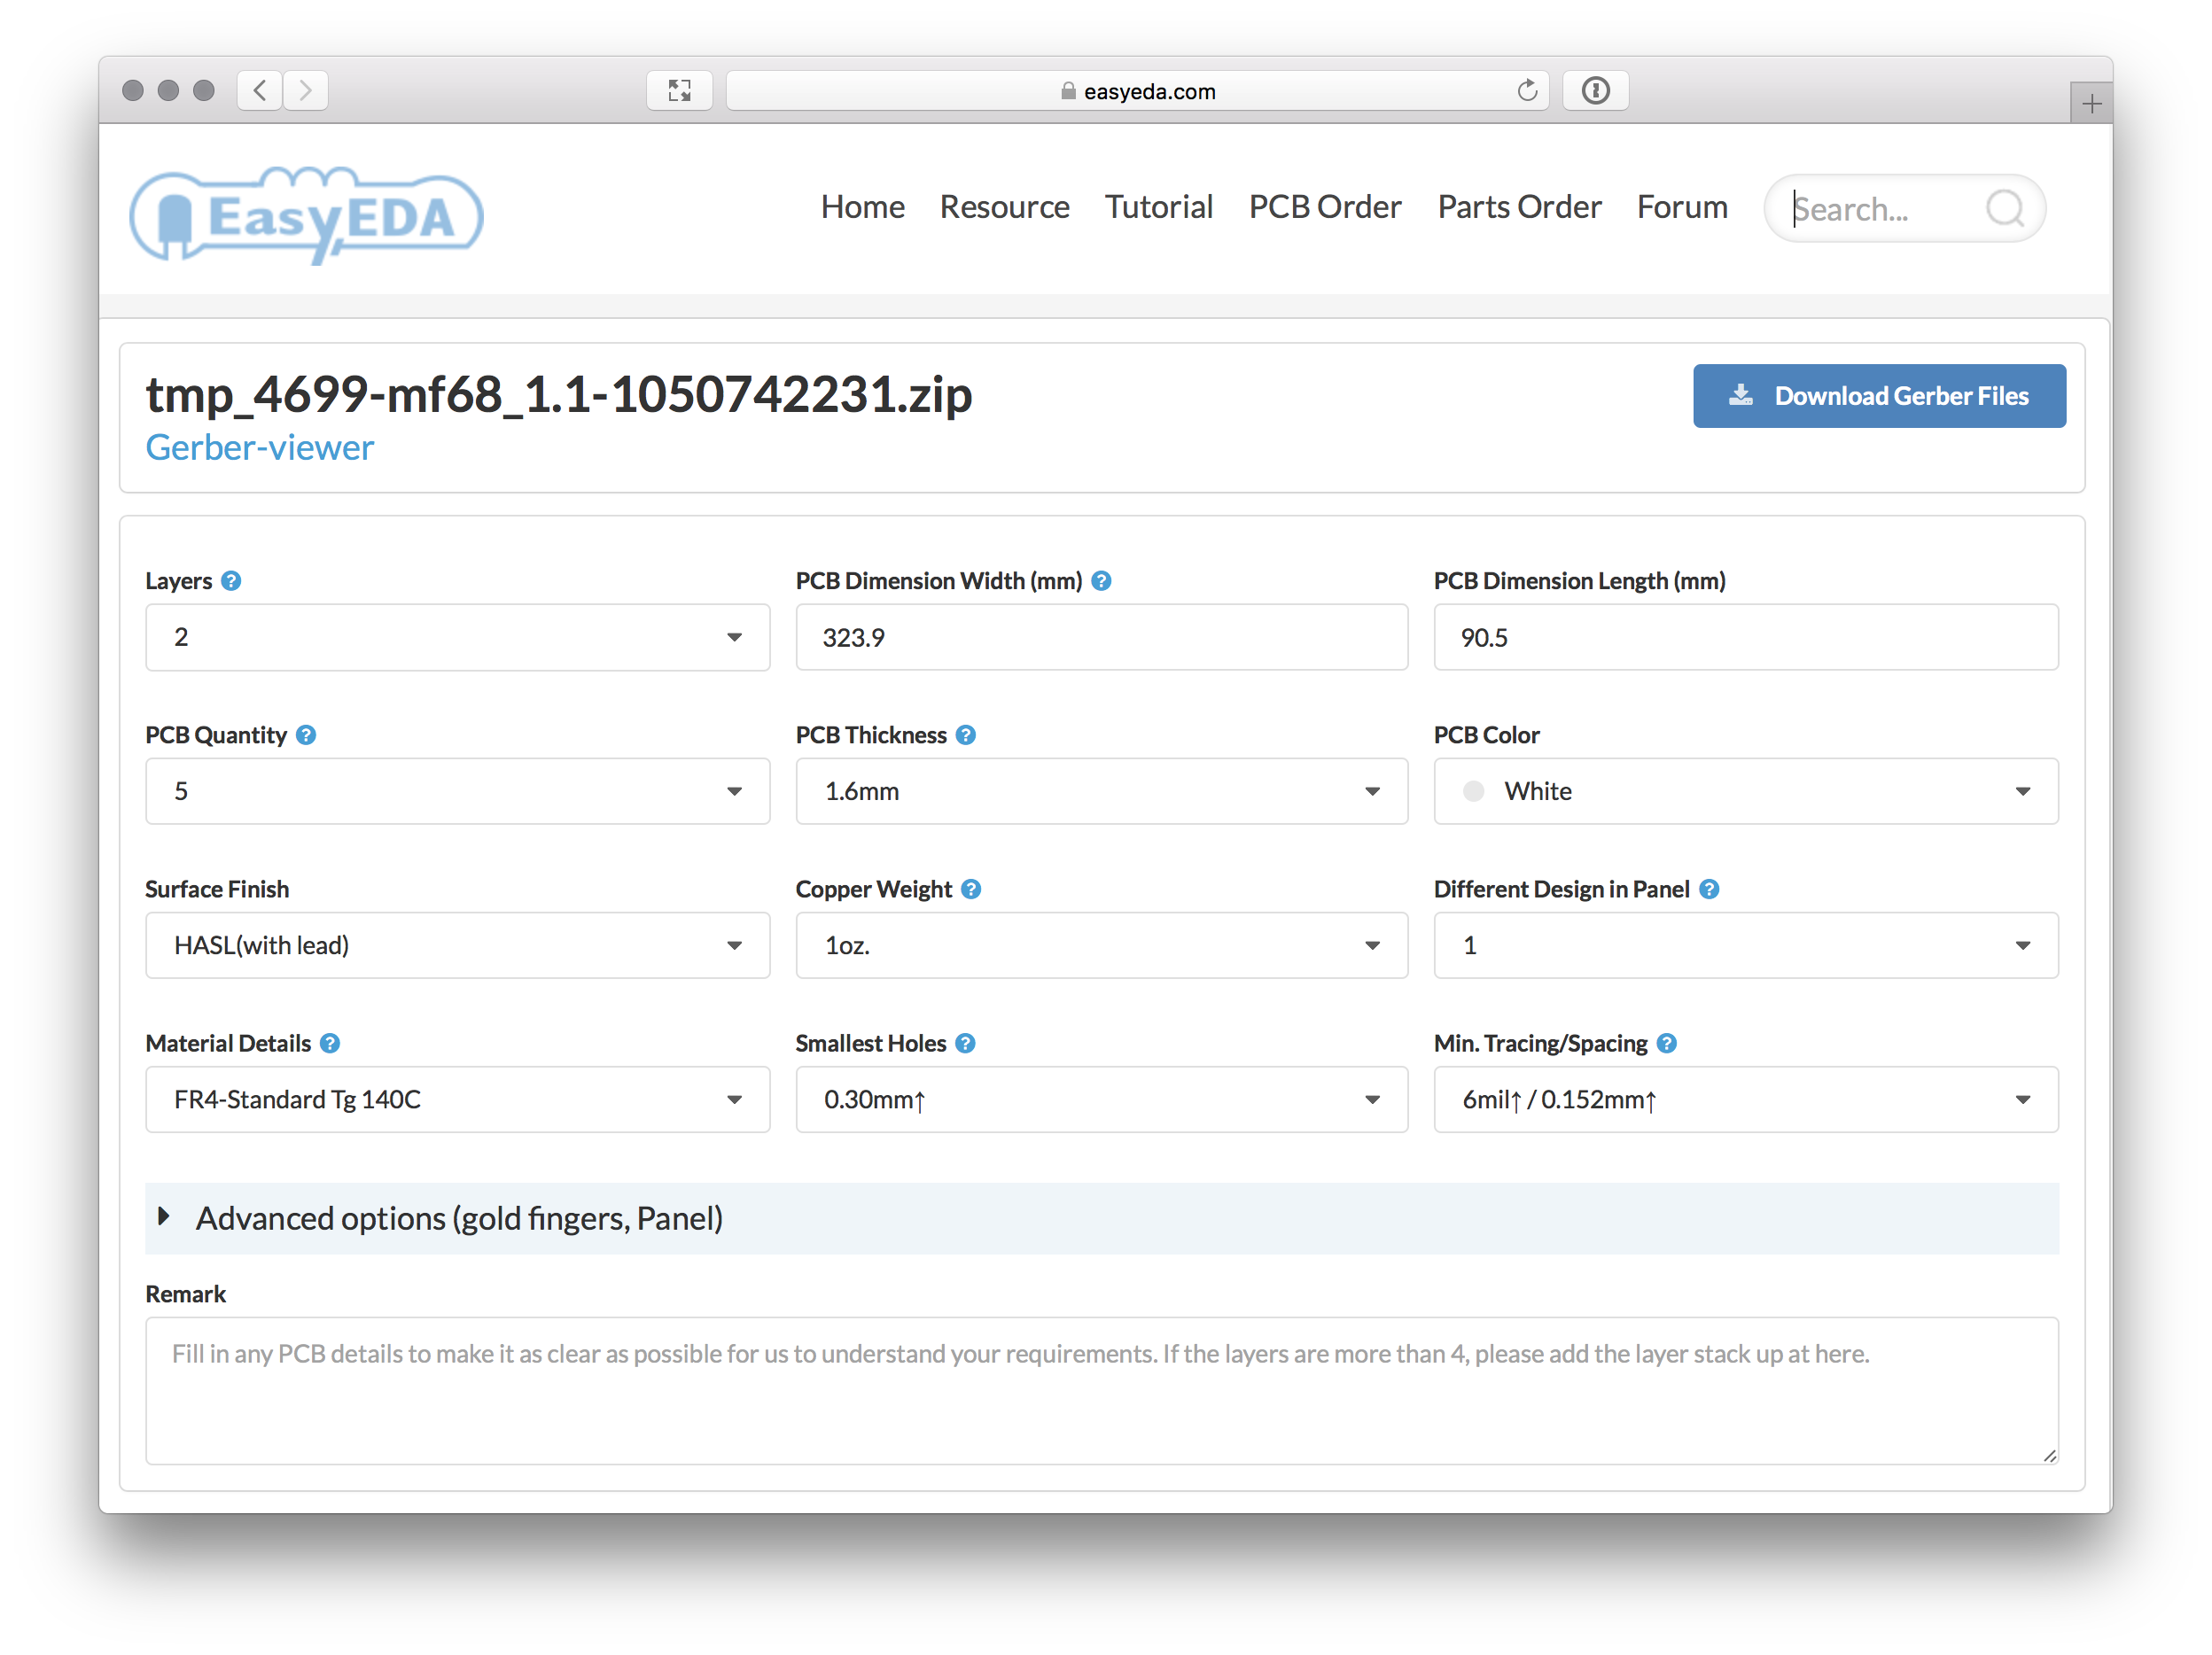
Besides the quantity you want to order and the desired color of your PCBs, everything is already configured. But you should always double-check the configuration:
Layers:           2
Width:            323.9mm
Length:           90.5mm
PCB Thickness:    1.6mm
Surface Finish:   HASL
Copper Weight:    1oz.
Panelized PCBs:   1
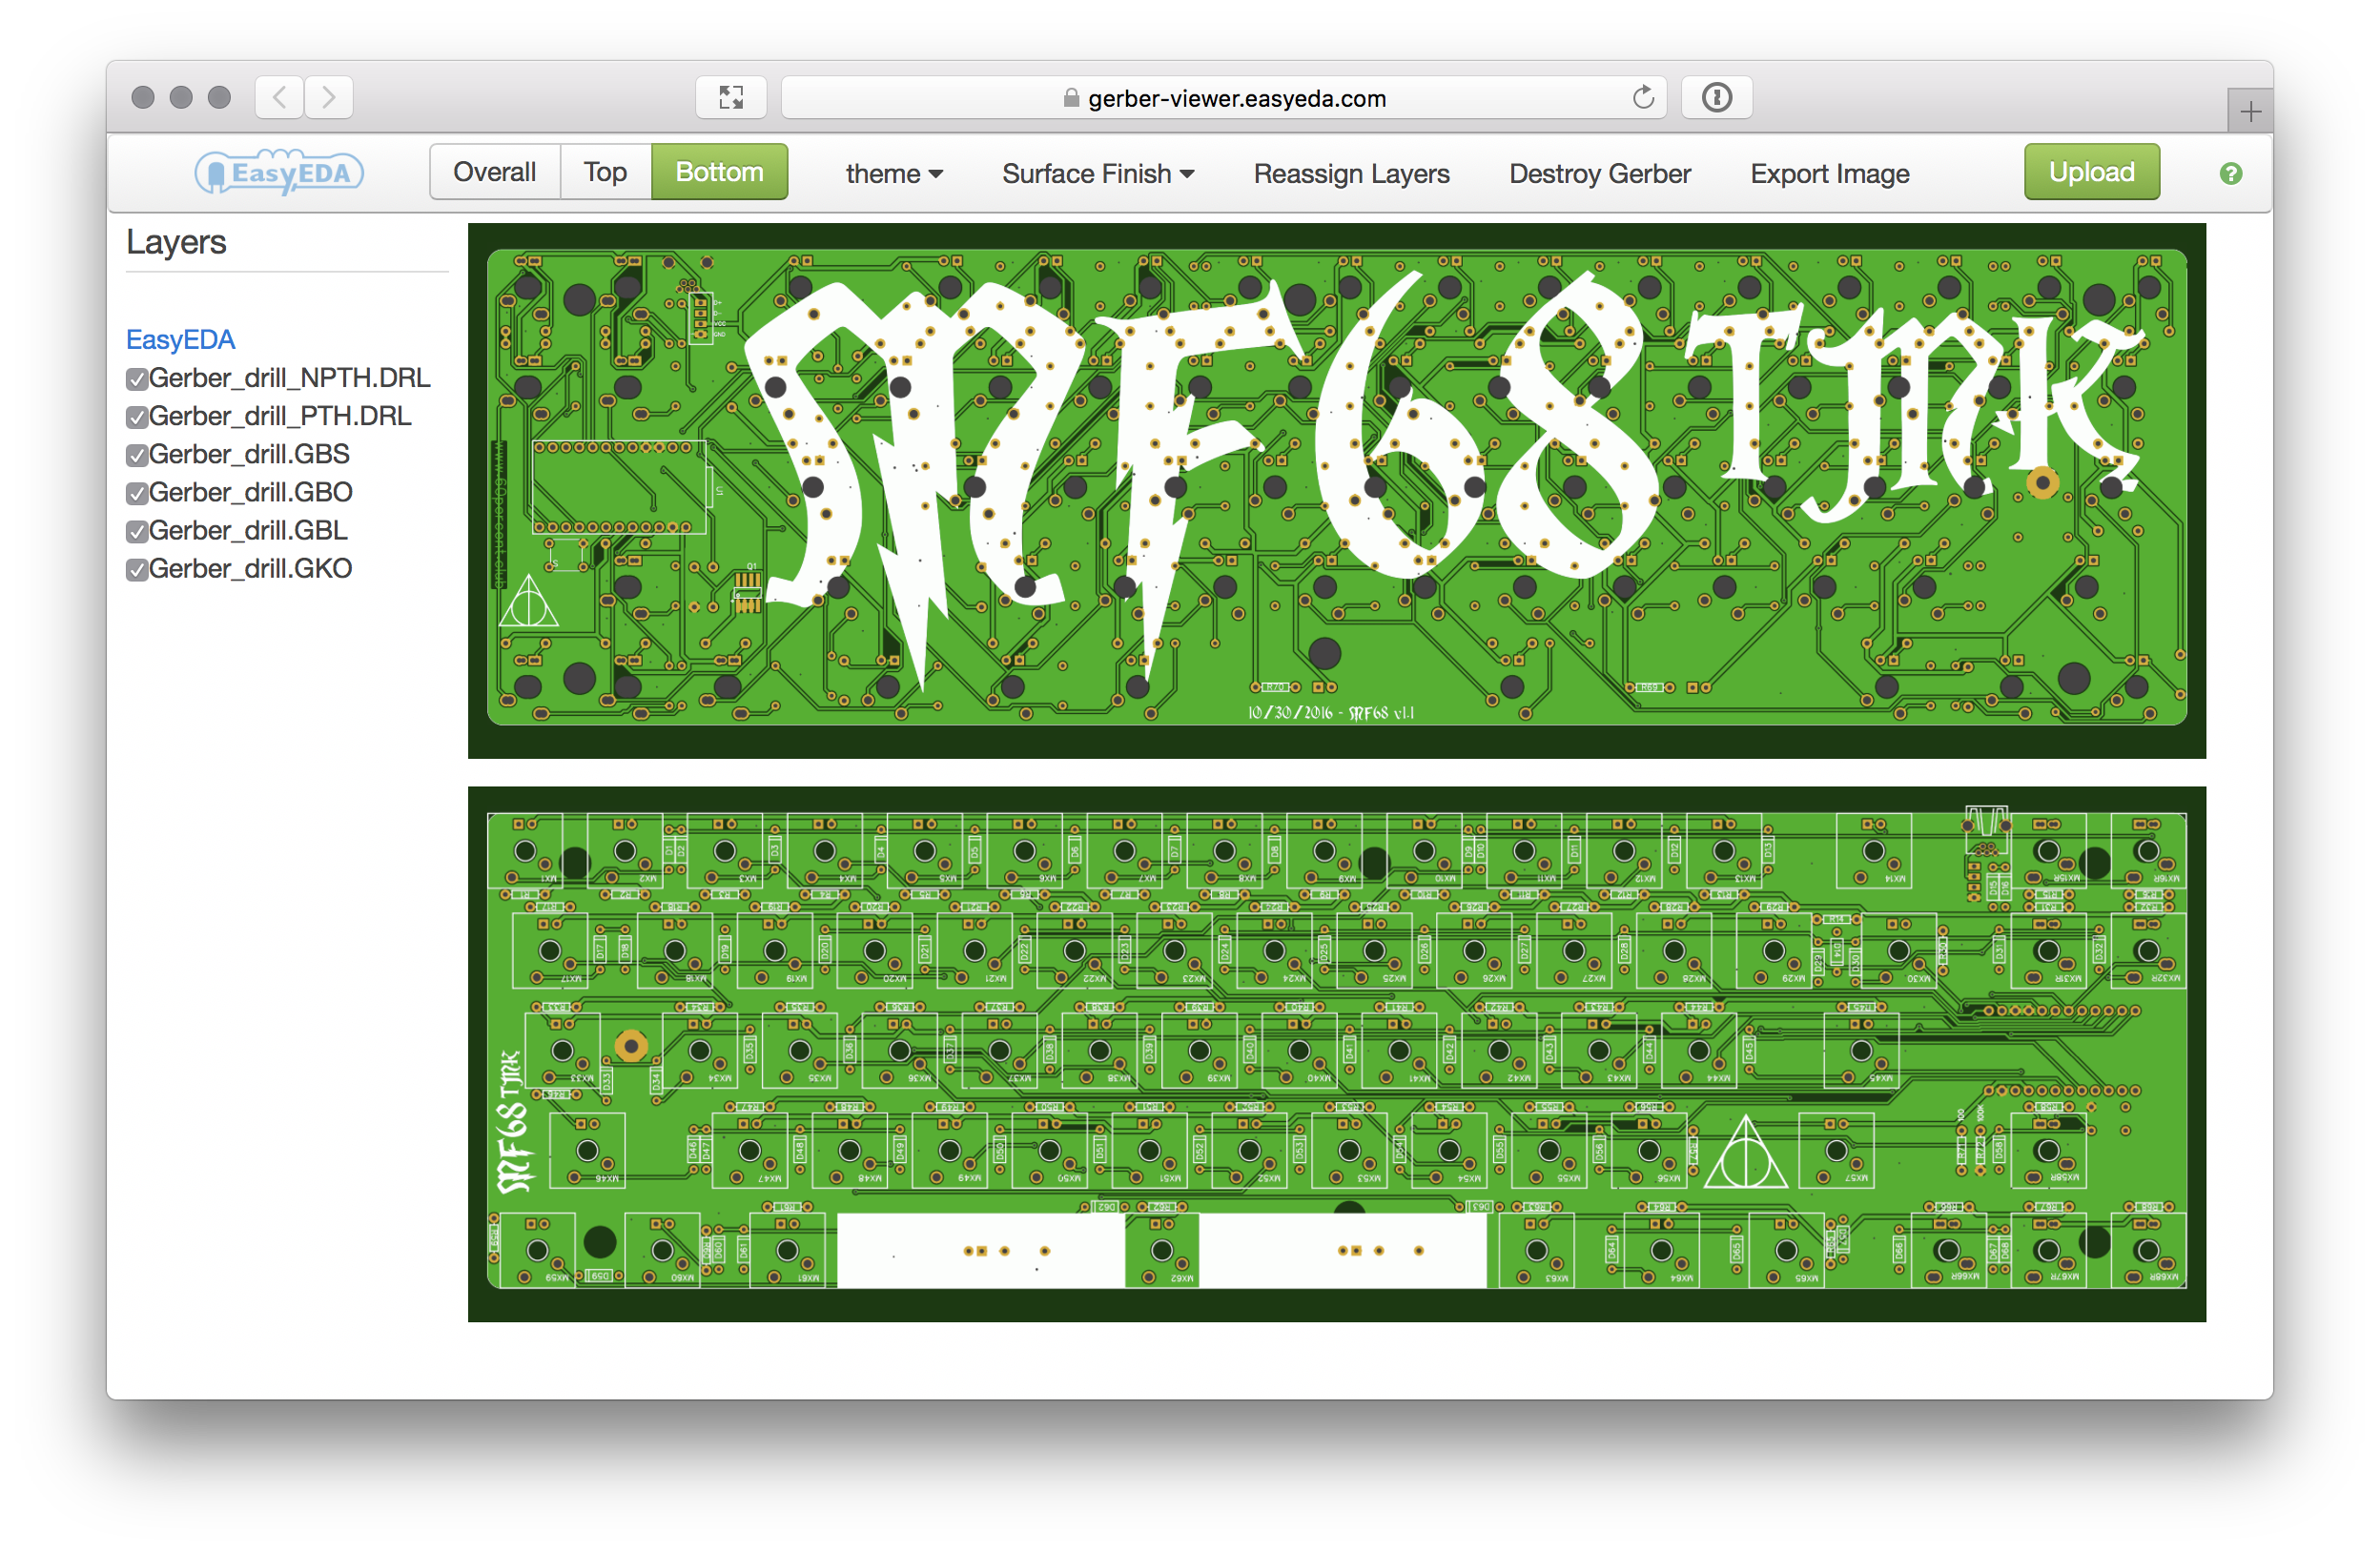
With the available Gerber Viewer, you can have a preview of your final PCB and even switch the colors, to support you in choosing an outstanding color for your board.
EasyEDA requires you to purchase at least five copies of your board. That’s a bummer when you just want to build a single keyboard, but thanks to the large community around mechanical keyboards, you should be able to sell them without any problems.
You can offer the remaining boards on r/MechMarket, GeekHack, or just ask on Twitter using #68keys if someone would love to buy one from you.
Add components to PCB
After you received the PCBs, get the Arduino Pro Micro, the Push Button, and all 1N4148 Diodes and heat up your soldering iron! The board has marks for every component and it’s nearly impossible to solder something at an incorrect position or orientation.
The board also supports a Mini-USB connector, but the marks are on the wrong side of the circuit board! The connector needs to be soldered onto the same side as your Arduino. To use of the connector afterwards, you need few additional parts, listed in the Shrink Kit. This can decrease the case’s height from 15mm down to 10mm!
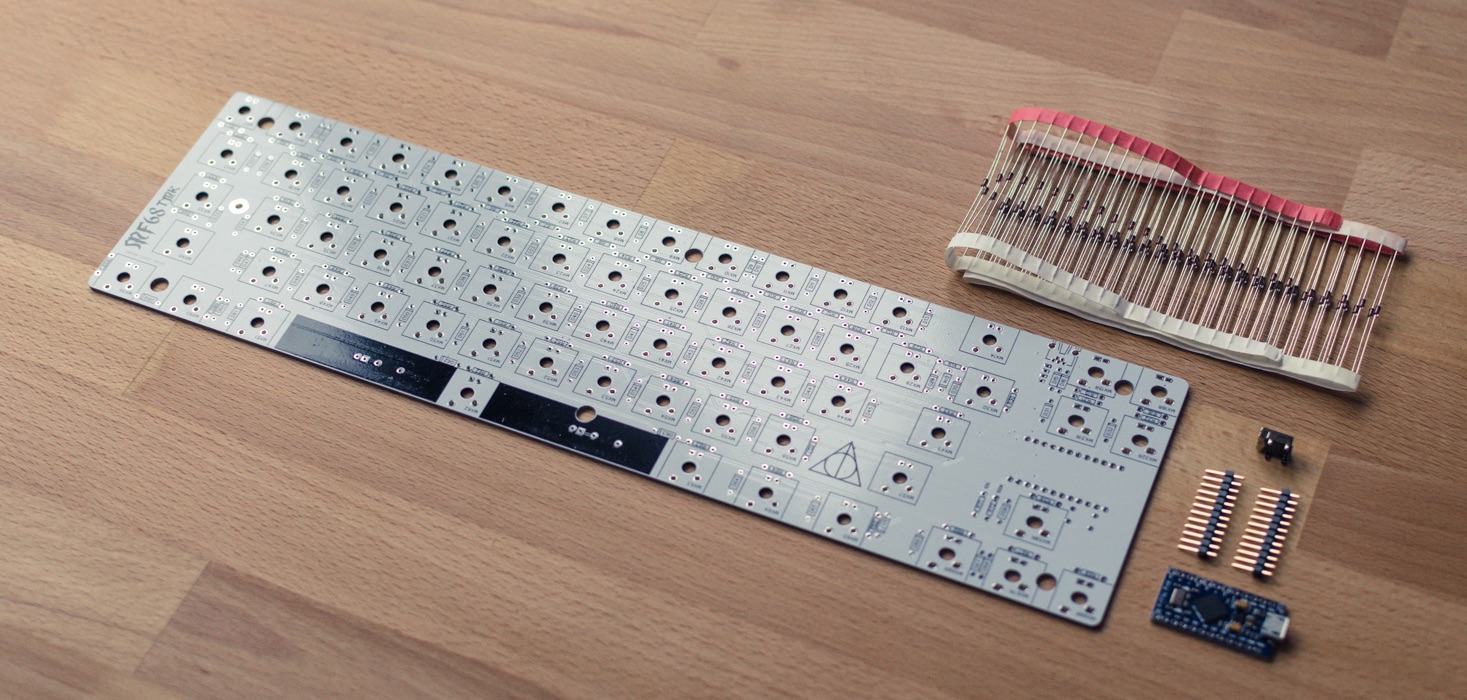
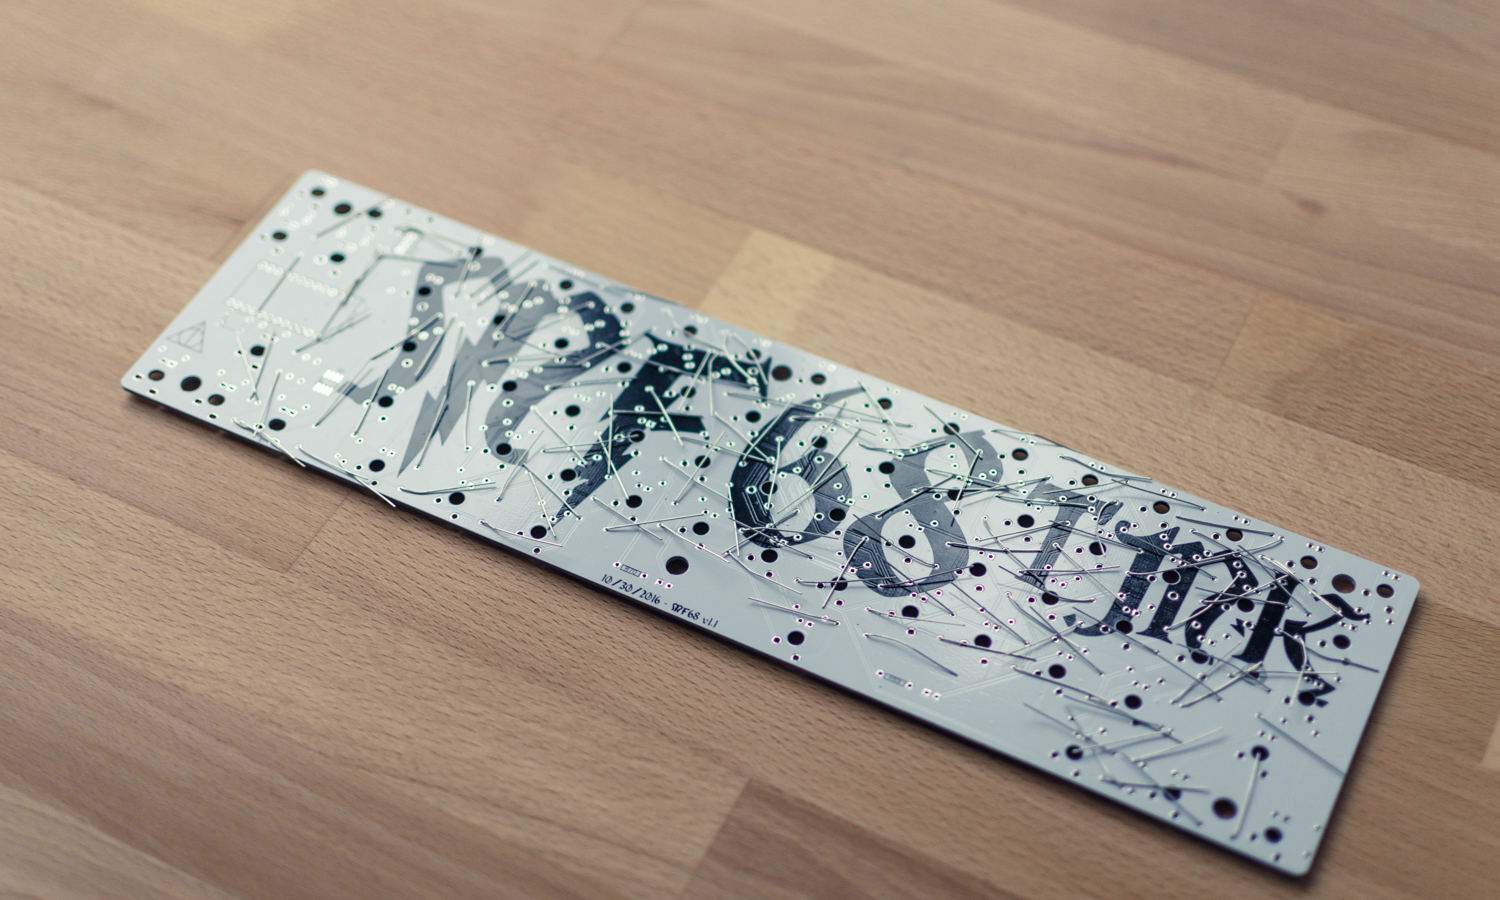
I prefer to attach all diodes to the board first, and then solder everything at a stretch to the PCB. On the side without the big mf68 printing you can find marks for every single diode. The marks include the Cathode’s position, so you know the diode’s orientation.
Cut the overlapping ends from the diodes and continue with the Arduino Pro Micro and Push Button. The board contains marks for both parts on the site you soldered the diodes. Most Arduino boards already come with a set of headers, which work perfectly with the board and the case.
If you want to save a few millimeters height of your keyboard, you can solder one side of the headers to the Arduino (or the PCB) and remove the black plastic part before soldering the other side of the headers. Afterwards, use a side cutter and remove the overlapping ends. Without the black plastic, you can use 12mm standoffs, instead of the recommended 15mm ones. With the additional parts from the Shrink Kit you can minimize the height even down to 10mm.
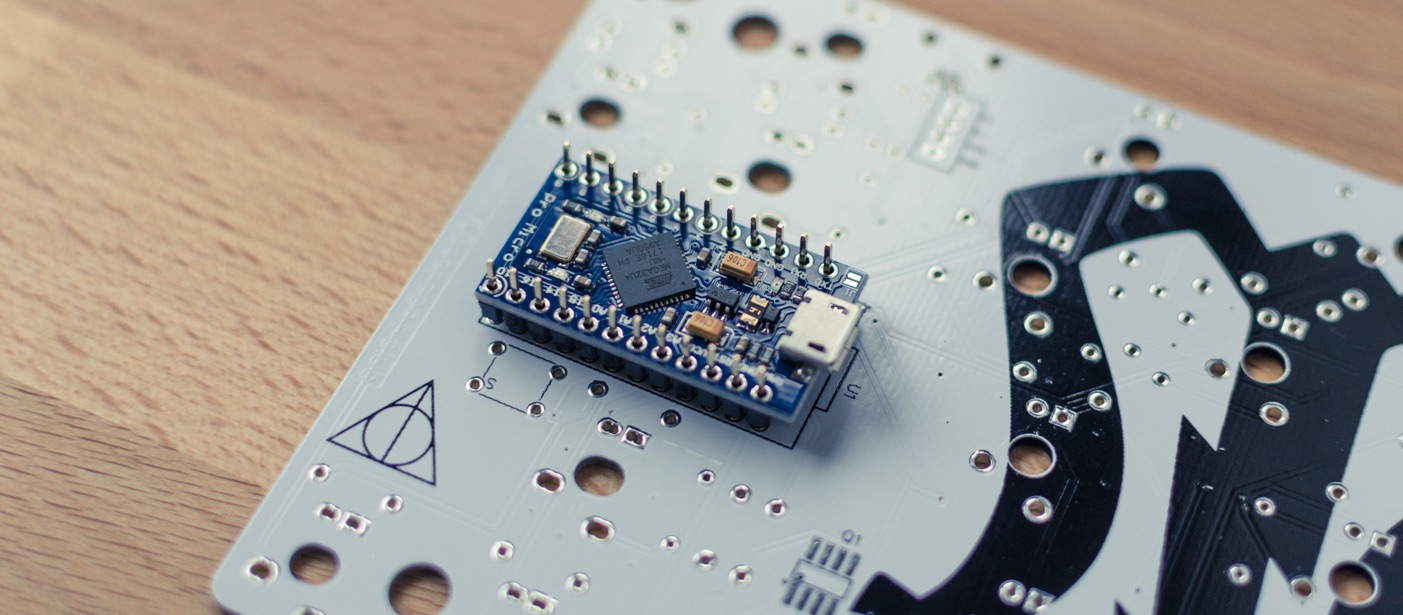
The Push Button fits beside the Arduino and is used to restart the Arduino and enable the Bootloader to flash a new keyboard firmware to the board. You can simulate the button with a jumper cable and connect RST and GND on the board if you want to save a few cents in building the keyboard.
Connect PCB to Switches
With the Arduino Pro Micro, the Push Button, and all 1N4148 Diodes on the board, it’s now time to connect the board to the cover plate of your sandwich case.
If you want to test your circuit board before soldering it to the switches, you can upload the firmware and simulate the switches with a simple wire. After you tested everything continue here and just close the case!
Place the cover with the switches and stabilizers on your table, with the connectors of the switches heads up. Now put the PCB carefully onto the switches and try not to snap off a connector from a switch. Before you start soldering the connectors to the board, double-check if both connectors from every switch jab the board.
Upload the Firmware
You now have everything ready to put some software on your keyboard, isn’t that awesome? Head to the next page and read everything about the custom QMK Firmware you need to get your keyboard running!